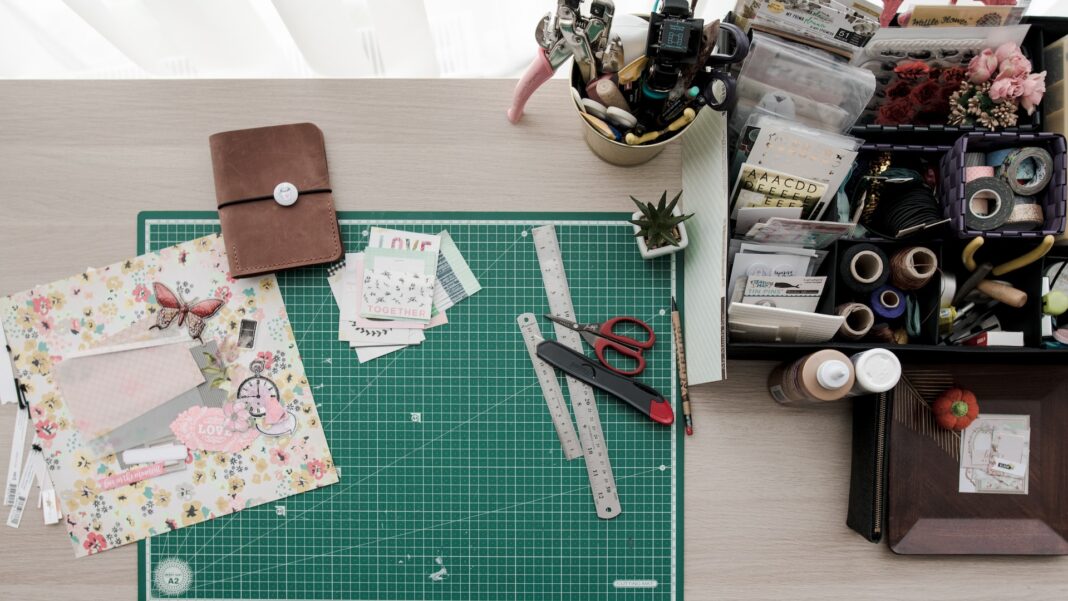
A dedicated craft area in your home can be one of the most valuable things for serious crafters.
Not only will you have room for all your tools and supplies, but you will be able to work on your projects with focus and dedication and earn some additional income.
Here are some effective DIY hacks you can apply to turn your crafting space into a well-functional place where you can fully unleash your creativity.
Install Countertops
Every crafter knows how important creating and adequately maintaining their workspace is.
If you have a luxury of space or have recently done some home renovations, add countertops which can be a nice addition to your craft area, for they will make organizing all your tools and supplies easier.
It’s a much simpler solution than rummaging through boxes or storage bins to find that exact thing you need.
You don’t need to invest all that much money to install a cool-looking countertop for your craft area. It’s easier than you think, and it’s nice to be able to sit if you want. Get reclaimed wood or wooden boards.
Also, ensure you have installed it at an appropriate height that won’t make you constantly bend over during crafting. Finally, you will free up your skills and allow more than one crafter to work in your space.
Install A Large, Sturdy Workbench
If you want to spread all your materials close to your art, you need a big sturdy work table. It will make you want to get down to business and earn some additional cash monthly easier.
What do you need? Only need a saw, a measuring tape, some screws and a drill to craft it yourself.
Step 1: Make the bench base
First, you must create the bench base: clean the lengths up with a file or sandpaper and test whether they fit altogether. Drill some pilot holes and drive a couple of screws. Repeat this process in each corner, and the bench base is ready.
Step 2: Cut the top to make it the same length.
Step 3: Assemble
Put the lengths in place, then clamp them under the frame. Again, drill some pilot holes and drive the screws.
Don’t forget to install a support beam onto the legs. Cut the laminated pine sheet to size and out on the square’s top. Use a circular saw for a clean cut.
Lay some paint on it, and that’s all!
Make a Chalkboard Station
Who said that chalkboard are fun for kids only? They are so functional for your craft area!
But how to?
Prepare the area to be painted with frog tape. Apply the first coat of chalkboard paint and let it dry. You can apply the first coat of paint using either a paintbrush or a roller. And finally, don’t forget to rub chalk on the surface.
Once you’ve erased it, you can put your skills into action.
After all, it pays to stay organized!
You can also apply chalk paint on your cabinets to allow organisational change now and then.
Design a Gift Wrapping Station
Creating a gift-wrapping station is an ideal solution to survive the holiday season, as it can save lots of time and effort.
When you do so, you will be much more organized and won’t have to search for your craft supplies through messy baskets–just create a non-messy organisational environment so you can find your wrapping paper and ribbons easily!
This will help make creating personalised gifts for your family and loved ones much less complicated, and you’d be able to achieve a much better surprise effect when it counts the most!
After all, proper packaging is one of the best ways to show care and a holiday spirit.
Use tension rods to secure the roll to the closest to your spot and arrange the other supplies in a place that allows you to grab them quickly and easily.
Create a Pegboard Wall
Get the space organized in no time!
All these little craft items can be stored in an accessible and easy-to-reach place. The pegboard walls are a fabulous and stylish way to achieve a better crafting space. You can also better organize your tools and supplies by maximising the vertical space a pegboard provides.
And something more: they can be installed pretty much everywhere! You can either do that yourself or hire a licensed handyman to do that for you.
You need only a pegboard piece to cut and paint it. Precisely mark where the studs are on the wall and then mount the pegboard. After that, you can use hooks, rings, and shelf brackets to accessorize it.
Amazing work!
Now all that’s left is to hang your craft supplies and artwork and start your first project.
Additionally, pegboards can jumpstart your kid’s creativity and concentration, help refine their fine motor skills, or create a stimulating and beautiful environment for your little ones to do homework or simply focus on their first personal projects.
Use a mood board
Another excellent option is the mood board, which can serve multiple purposes: whether you need it for organization, to refine a specific project, or for inspiration.
You can put anything you want to improve your craft, whether it’s images, textures, plans, sketches, or even things, to serve as visual metaphors.
The choice is yours, for the possibilities are many!
In the end, even a simple checkered mood board can serve as an inspiration to jump-start creativity or help you refine the finer details of your personal project, or ensure you keep track of a client’s specifications.
Conclusion
Now that you got a few excellent DIY hacks, all you have to do is apply them and reap the benefits.
As a result, your craft area will become more organised and efficient, and you will have a much greater time when you’re also working on your craft.
Plus, you can make some additional bucks on the side while doing what you love.

